
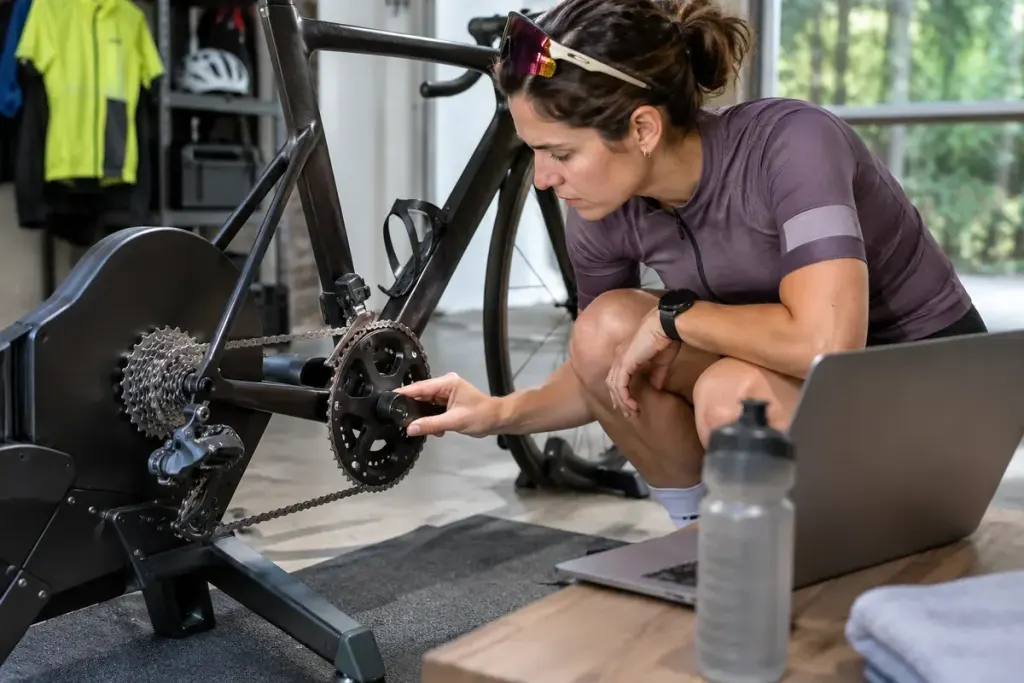
You pair the power meter, see a battery reading and assume the bike is ready. Pairing confirms communication; it does not necessarily establish the meter’s unloaded reference. That is why a zero-offset procedure can be a useful part of preparing a power-based training session.
Follow the instructions for the installed meter. Pedal, crank-arm and spider systems can use different procedures, and automatic compensation does not make every manual instruction interchangeable. A button labelled “calibrate” on the computer may initiate a zero offset rather than a full laboratory calibration.
Give the meter the conditions it expects
The Quarq power-meter manual, for example, describes a manual zero with the rider off the bike and the drive-side crank at six o’clock. This is a model-specific example, not a universal instruction for every meter. Loading a pedal while asking the device to establish an unloaded reference defeats the purpose of that procedure.
Before pressing the command, identify the device selected on the computer. A bike with several saved sensors can connect to a different meter than the one you intended. Check the result message rather than assuming that leaving the settings screen means it succeeded.
Keep a short equipment note
Record the date, meter model, success or error message and any recent installation change. If the device provides a zero-offset value, preserve it as the manufacturer recommends. Avoid comparing that number with a friend’s unrelated meter: their scales and acceptable ranges may differ.
An unusually hard-looking ride on the screen is not automatically improved fitness, and an unexpectedly low reading is not automatically lost fitness. If readings change abruptly, check setup, battery, firmware guidance and the manufacturer’s troubleshooting steps before rewriting the training plan.
A repeatable preparation routine makes the ride easier to interpret. It also gives support staff a useful record if the meter repeatedly refuses to zero under the specified conditions.