
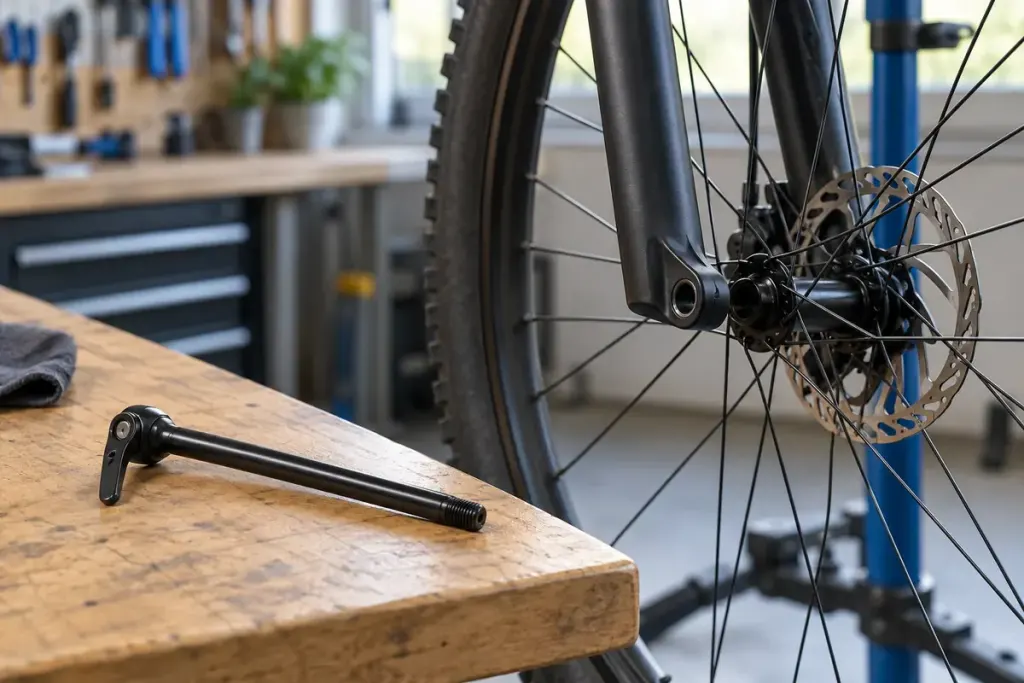
Two thru-axles can share the same diameter and still be incompatible. One may start to enter the frame but have the wrong thread pitch; another may be the wrong length beneath its head. Neither problem should be solved by applying more force.
A thru-axle passes through the wheel hub and threads into the frame or fork arrangement. Its dimensions must match that assembly. Garmin’s Tacx axle guidance recommends obtaining the axle measurements from the bicycle manufacturer and distinguishes length, diameter and metric thread pitch.
Make a specification note, not a visual guess
Record the bicycle model and year, whether the axle is front or rear, the markings on the original part and the manufacturer’s replacement reference if available. Photograph the head and threaded end. Keep length, threaded length and thread pitch in separate fields rather than compressing them into “12 mm axle”.
Metric thread pitch describes the spacing between adjacent threads. A marking such as M12 × 1.5 combines a nominal diameter with a pitch; it does not state the complete axle length. Treat this as an example of notation, not a specification for your bicycle.
The head’s seating shape and any washers also matter. An accessory axle for a trainer or trailer may require a particular adapter or spacer arrangement. Confirm compatibility with both the bicycle and accessory maker instead of assuming the original axle’s replacement is suitable for every attachment.
When refitting a wheel, follow the frame or fork instructions, including any torque requirement. The axle should engage correctly without cross-threading. If it resists unexpectedly, stop and investigate rather than using the lever as extra leverage.
A workshop can identify an uncertain thread or damaged receiving part. Bring the original axle and bicycle details so the discussion starts with evidence. Once the correct replacement is confirmed, save its exact part reference; it will be more useful next time than remembering only its colour or handle shape.